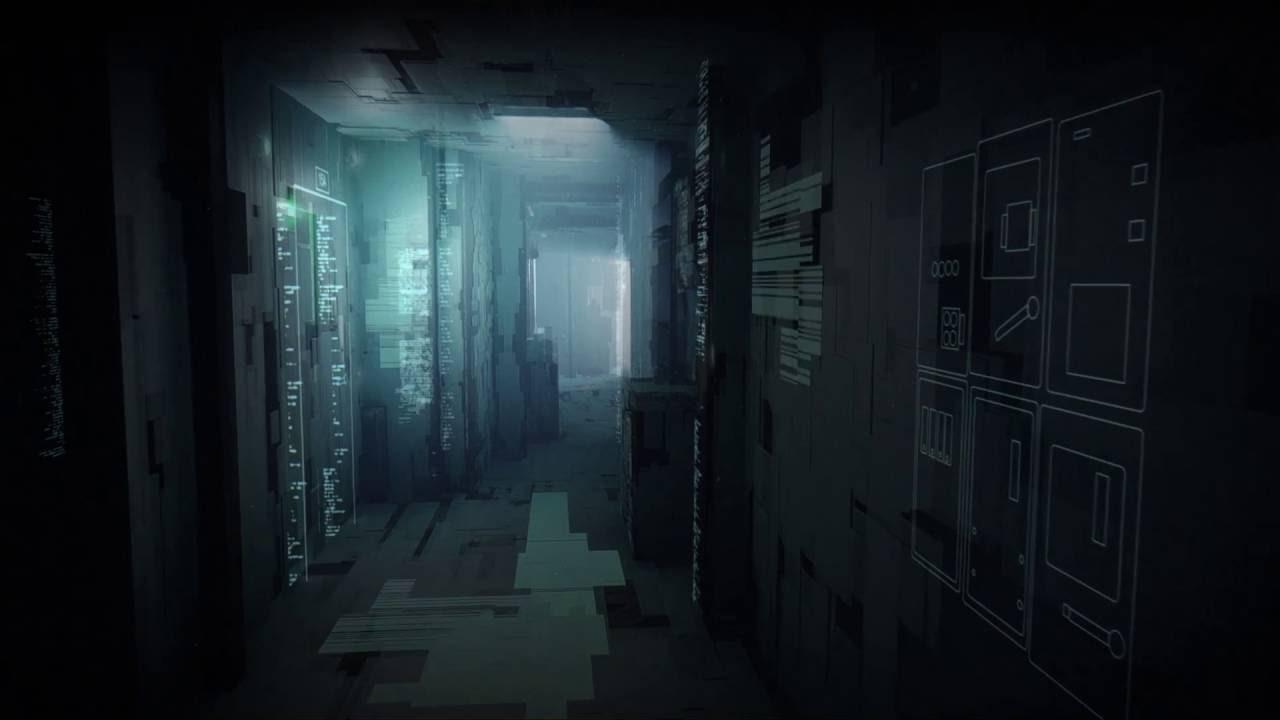
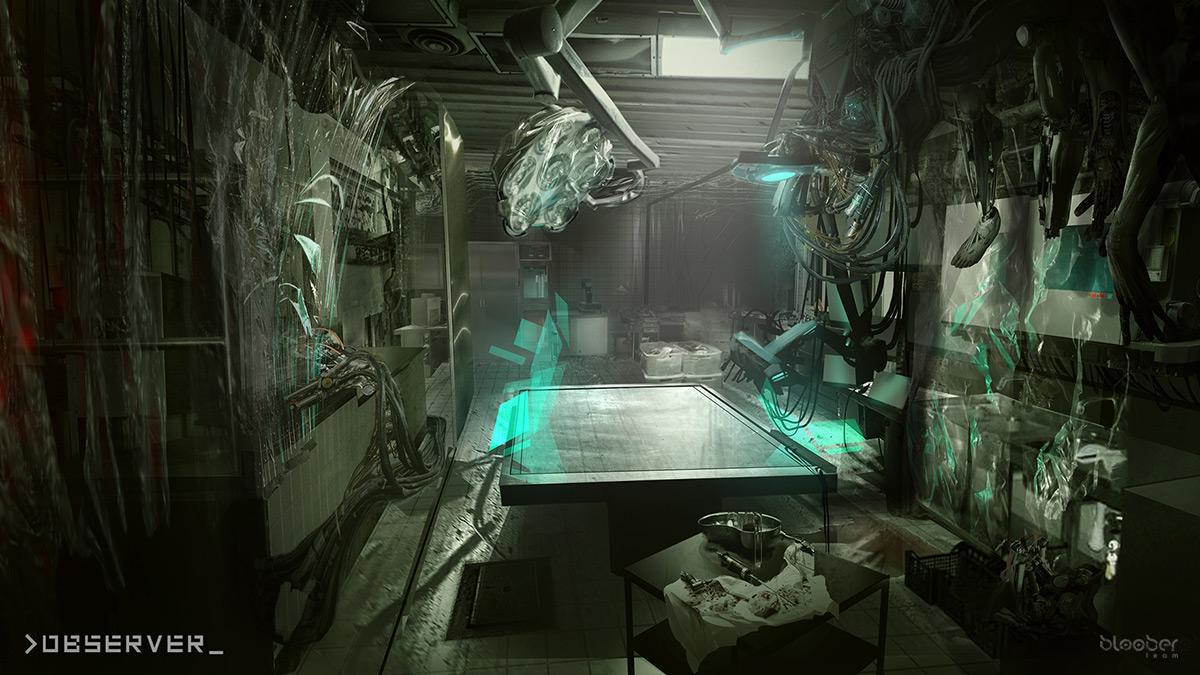
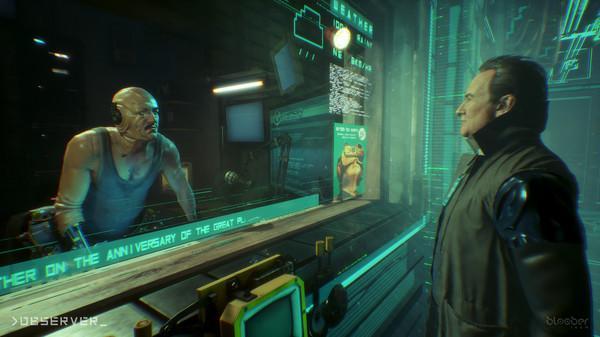
Explore Apartment 210
When the hallucination ends, you will be tasked with finding the owner of the tattoo parlor, for which you must again talk to the guard, who should be in the main courtyard. You learn that the owner of the living room is named Jack Karnas.
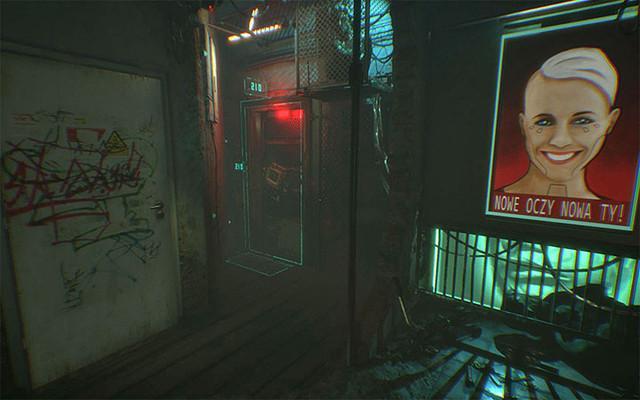
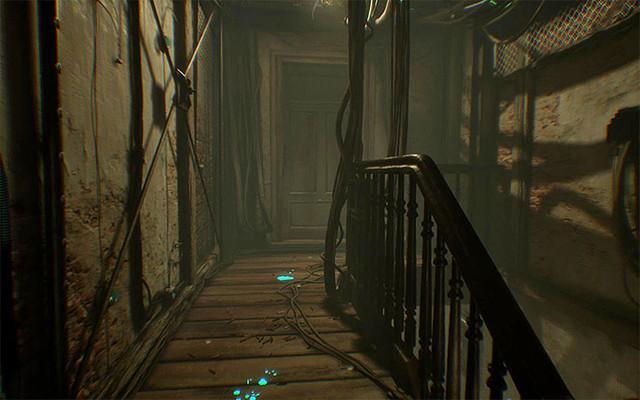
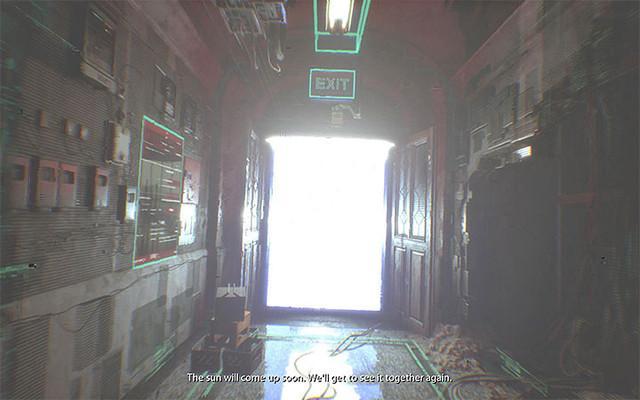
After speaking with the guard, head to room 210. It is located on the second floor of an apartment building in the southwest corner of the building. It is best to use the stairs that are next to the security office. Your destination is shown in the picture above.
When you enter the apartment, you can first take another collectible painting or immediately follow the long corridor to the office (at this point, without warning, a new memory will begin). When you enter the office, the gate will close behind you, forcing you to find a way out.
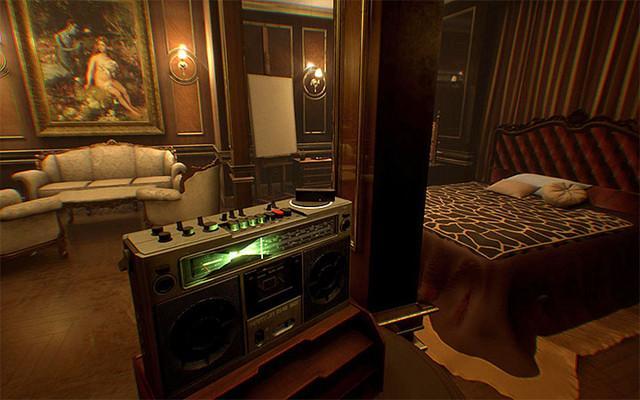
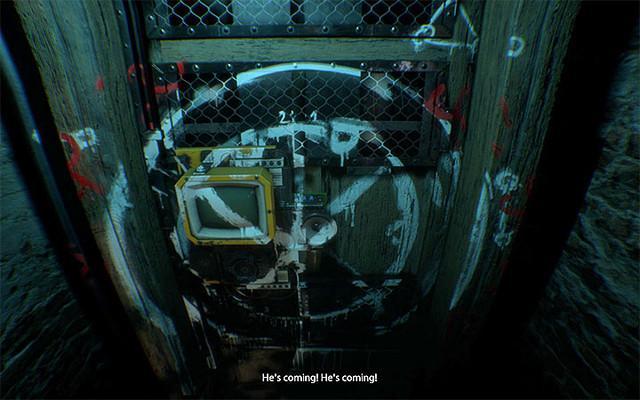
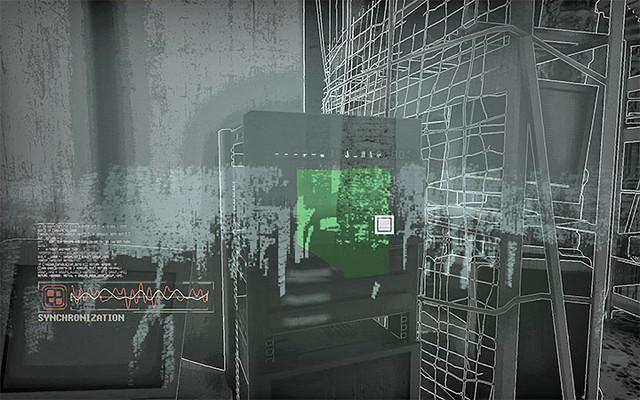
The only interactive object in the office is the radio pictured above. Start rotating the handle. Each time you find the correct frequency (signaled in green), a short scene is played back.
After watching one of these scenes, the radio will stop working, but the solution to this problem is very simple. Pick up the cable on the floor and plug it in behind the radio.
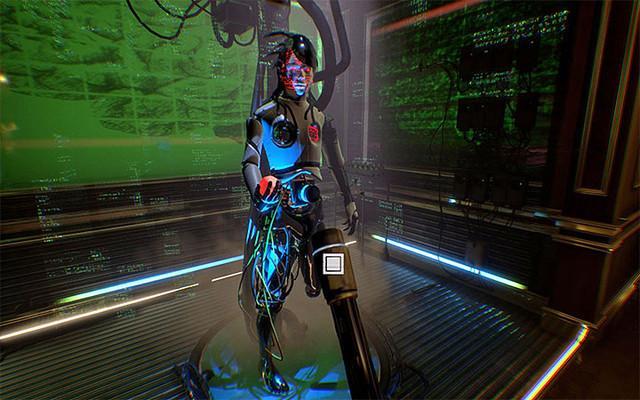
Find another working frequency and notice the strange symbol that appears in the room. You have to unplug the cable from the radio and move it to the symbol to insert it into the socket on the belly as shown in the picture. Now there are only a few scenes left that do not require any specific action from you, except for the one that pulls the cable to the floating object. After watching all the scenes, you will return to the real world and find yourself in a real version of apartment 210.
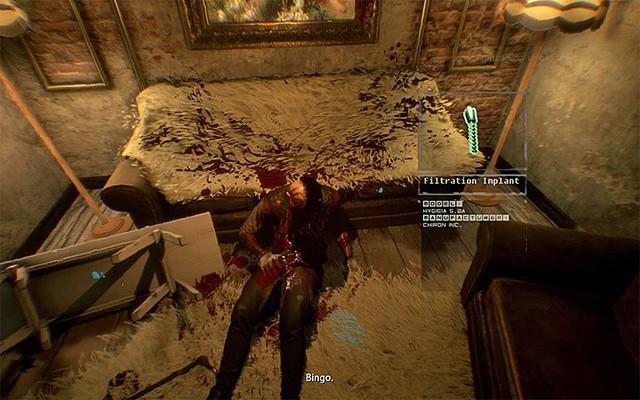
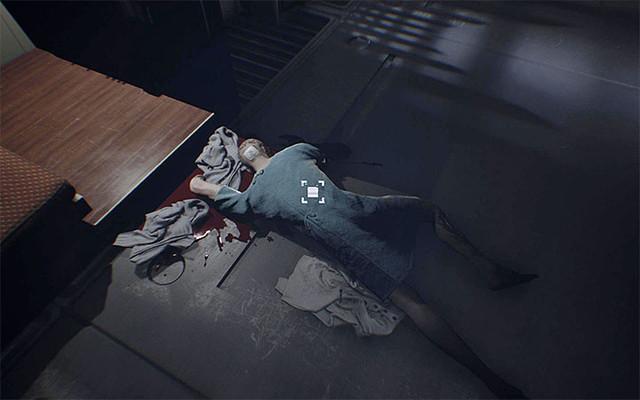
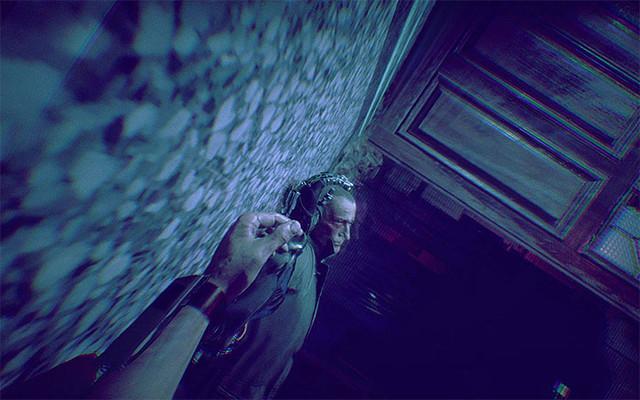
One of the new goals is to investigate the crime scene in apartment 210. You are already very familiar with this procedure, so start using EM Vision and Bio Vision. First of all, scan Jack Karnas' body (picture above), as well as individual parts of his body: prosthetic eye, filtration implant, wound and prosthetic leg. In addition, the room has bloodstains to be scanned (in several places including near the exit from the apartment), walking stick, voice recorder (listen to the recording), medical license, credit card, substance 53B, tablet AND computer (read all emails ).
Before leaving the room, examine another collectible painting (it is in the drawer) and syringes with synchrosin (most of them are in the bathroom).
Track down the killer
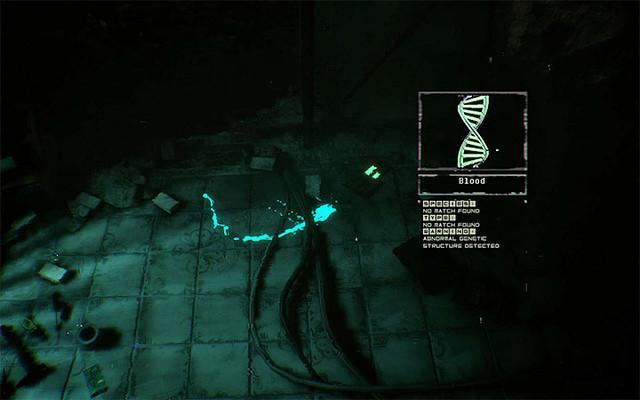
Leave apartment 210. Fortunately, finding the killer is not a very difficult process as he was injured and therefore left numerous bloodstains. When you find yourself in the hallway, start looking around. The biological vision mode can help you find them, although using and scanning each blood stain is optional. It is important that you take your time with this process so as not to lose tracks and return to the vicinity of apartment 210 to start the journey over and over again.
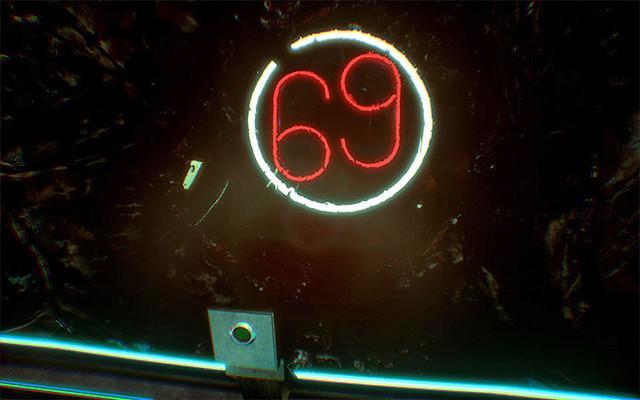
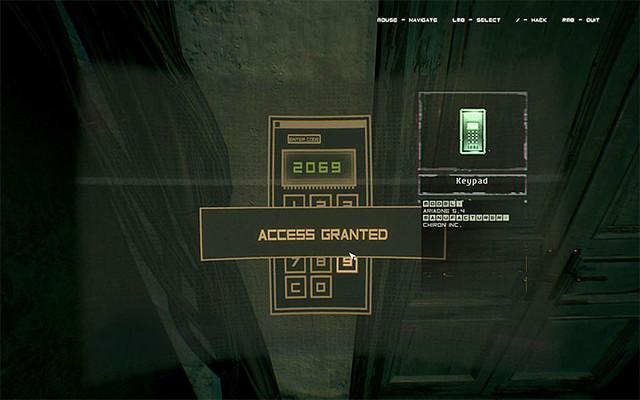
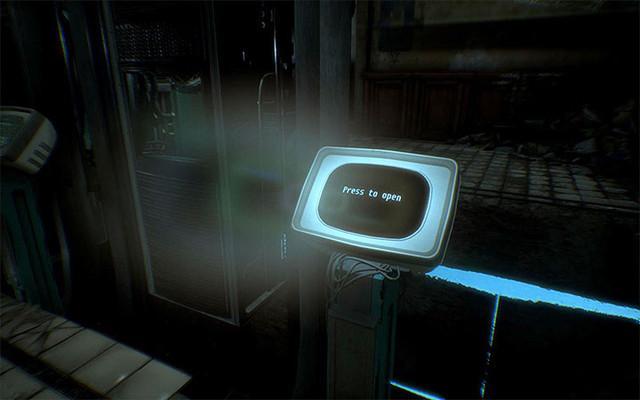
While traveling, you will experience hallucinations, but initially they will not change anything, and you still have to look for traces of blood. You must eventually reach the closed door and try to hack the keyboard next to it to get the code you need to access. Unfortunately, you will only recognize the first two digits of the combination (in our case it was 20). After the new scene starts, start exploring the area and get to the nightclub room shown in figure 1, where you can press the small button. As a result of this action, neon will turn on, and two missing numbers of the combination will appear in front of you. Return to the keyboard and enter the code 2069 (Figure 2).
Keep watching for the bloodstains until you reach one of the apartments and you can interact with the intercom. Get ready, because just after the conversation with the tenant ends, the killer will appear, and if you fail to escape from him, your hero will die. Start running away and don't stop until another hallucination begins, which this time will send you into the forest.
The main character is still in the apartment building. The forest is only a highly professional hologram, and you will be convinced of this by seeing waves that will bend at regular intervals, allowing you to briefly see the distribution of rooms and corridors at your current location. Your task is to get to the green boxes similar to those shown in the picture above. After that, you will need to pull them out, since they are actually holo-chips. Searching and turning off all three devices will allow you to "return" to the apartment.
You can listen to new messages left on the tape recorders, or immediately resume the process of searching for traces of the killer's blood. The footprints lead to the attic, so get to the nearest stairs and head upstairs. Once you reach the top floor, open the door to the attic that you found closed earlier.
Very important note! Once you enter the attic and the following scenes begin, you will no longer be able to return to the main part of the apartment building. If you have unfinished business (for example, additional investigations or inspection of all apartments), first complete them.
Once you are in the attic, continue along a very linear path. It will lead you to a fabric on the floor, which you must pick up and then jump into a large hole. At the same time, an assassin will attack you, but this is a scripted scene where you will have no influence on events.
Explore the killer's body and hack his mind
Your new task is to investigate the body of an assassin who died in a bad turn of events during his attempt to attack the main character. As with all similar scenes, you need to properly scan multiple interactive areas and objects (use your different vision modes).
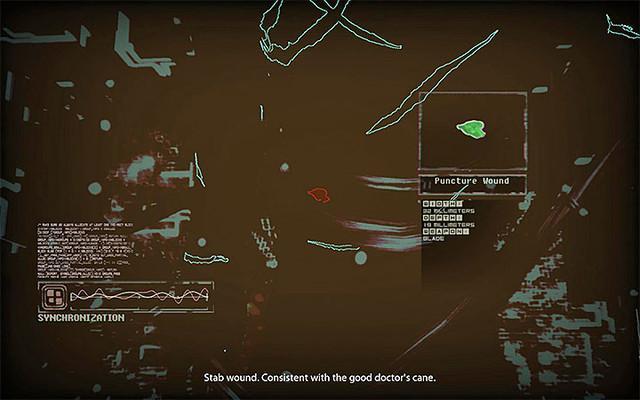
Specifically, you need to scan for unprotected wires, prostheses and implants inside the killer's body, as well as electrical burns on the body and the very well-hidden wound shown in the image above.
Scan the brain implant to the very end, allowing you to hack the killer's mind (Victor Maderski). After a while, the first memory will be loaded.
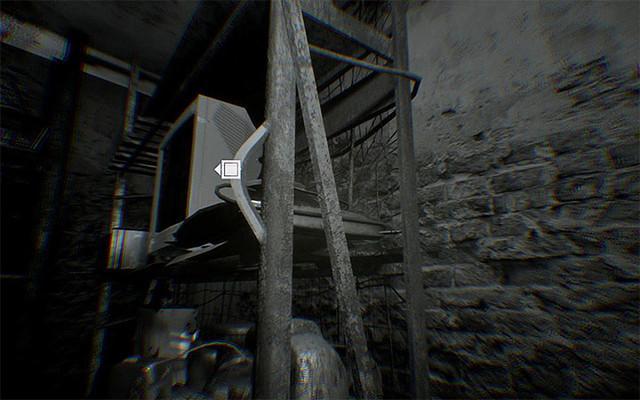
Start your journey through the mind of a killer. Walk up to children with TVs instead of their heads, which will allow you to shoot down the biggest character. Then enter the building and start following the new linear path. The road should not cause you any problems, moreover, a white deer will regularly appear, which will indicate the correct path. When you reach the location shown in the picture above, move the large shelf to the left to reveal a hole in the wall that you must squeeze through.
Further memories again lead you to the linear path. When you return to the forest at the back of the nightmare, ignore the strange creatures that begin to appear in the area.
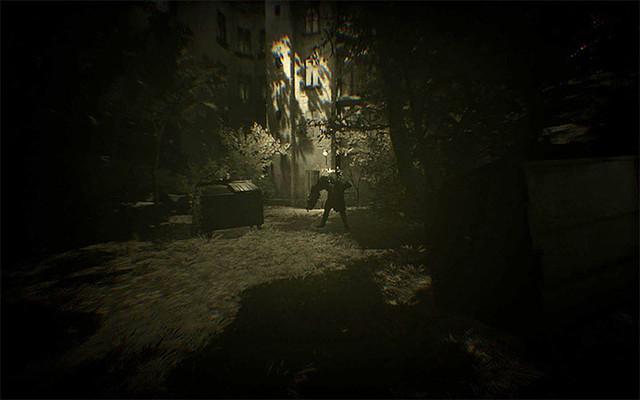
You will only need to be vigilant when you reach the location shown in the picture above, because there will be a monster already familiar to you. Once inside the building, remember that you need to hide behind curtains and crouch even before you start sneaking. The last few memories are again very linear and you don't need to perform any special steps to complete them.
Rebuild the generator
Exit the room onto the metal balcony, then sit down and squeeze through the small hole in the wall located directly under one of the lights.
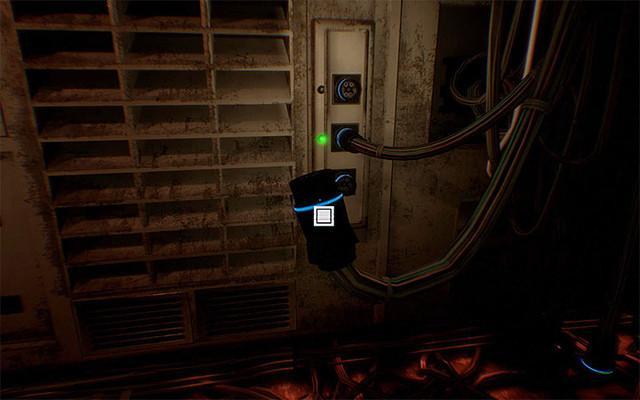
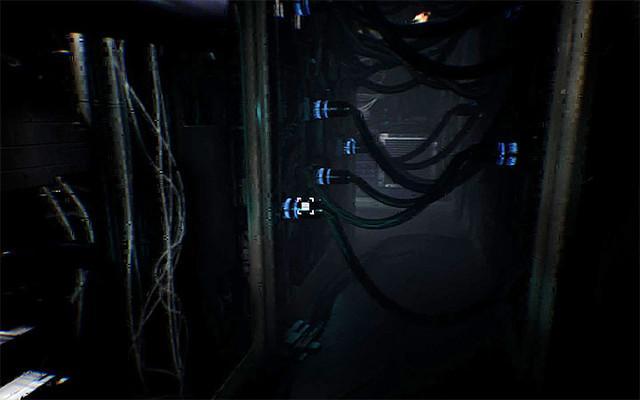
You will soon reach a room with three red levers. Ignore them because you cannot restore the power source right now. Instead, take a look at a large machine with only one cable connected at the moment. The other two cables are on the ground. You must take them and plug them into one of the free slots.
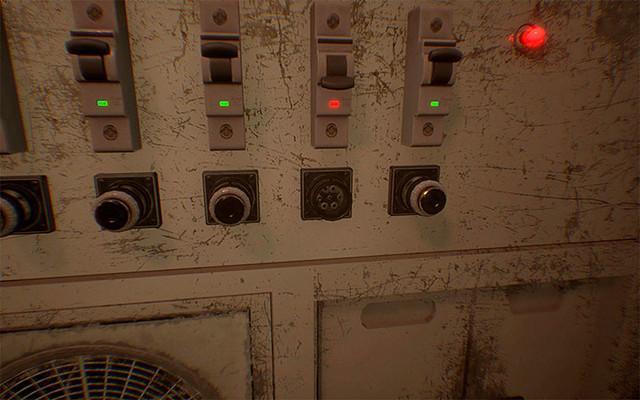
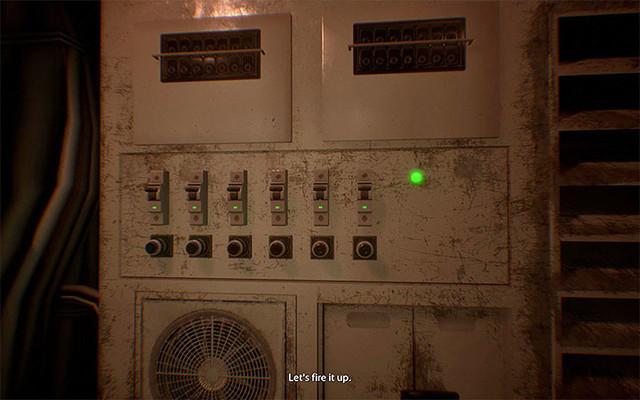
Notice the six small switches on the left. Start interacting with them and determine that the fifth fuse has blown.
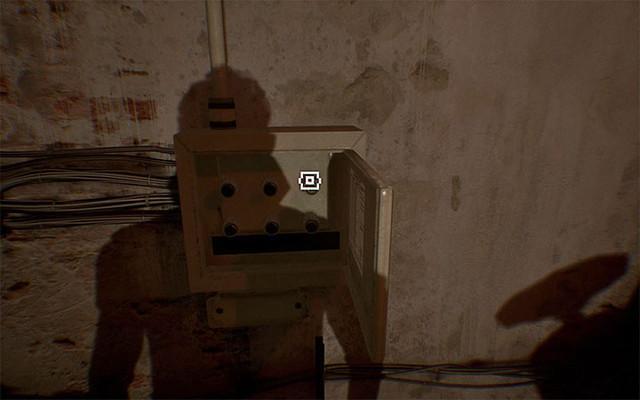
Explore the surrounding corridors that will lead you to the fuse room shown in Figure 1. Pull out the top right fuse (10A). Put it back on the board with six small fuses. Place a new fuse in the fifth slot and flip the switch. All lights should now turn green (as shown in Figure 2).
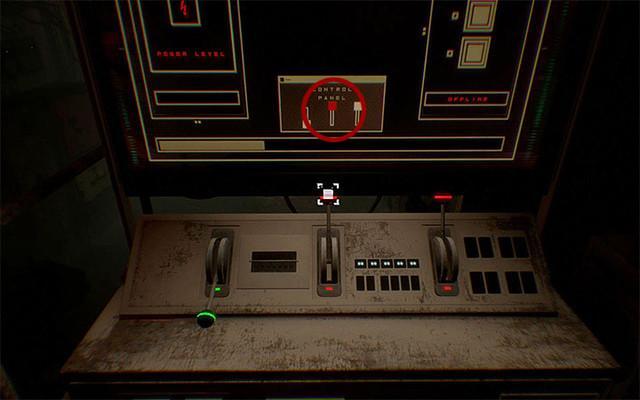
You can now return to the center console with the three red levers. Move the left lever down so that it turns green BUT do not move the other two levers at once. Wait until the second lever starts flashing on the computer screen - this will happen immediately after filling the white bar (see the picture above). Go to the final lever and pull it when the progress bar is about 2/3 way full and when the third lever icon starts flashing on the screen.
Find and explore the killer's hideout
Open the adjacent metal door and then head down the short corridor to another door, which is closed by an overturned cabinet. Interact with it to put it in an upright position, thereby opening a further passage.
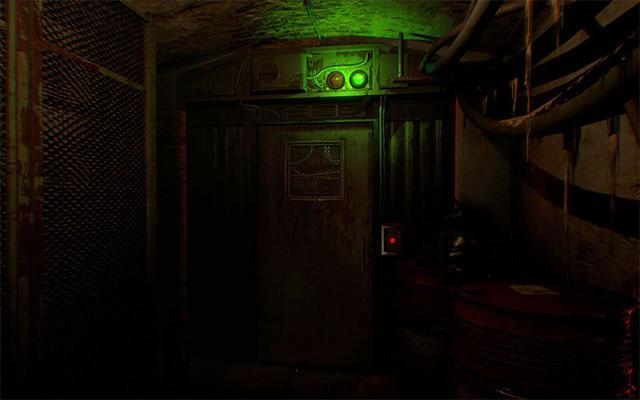
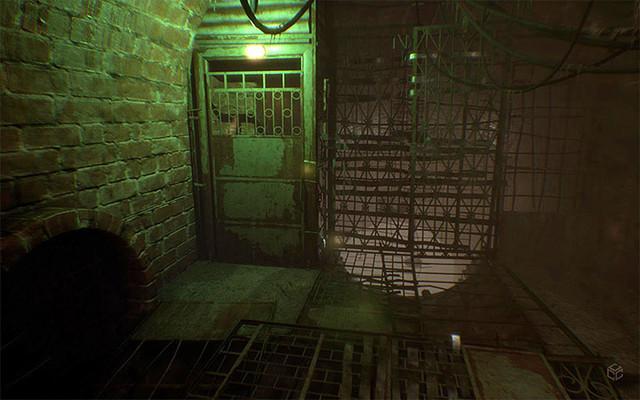
You will return to the hallway where you used the hole in the wall before. Now you can go through the open door shown in the picture above, which is lit with a green lamp (this passage became accessible after the power source was restored).
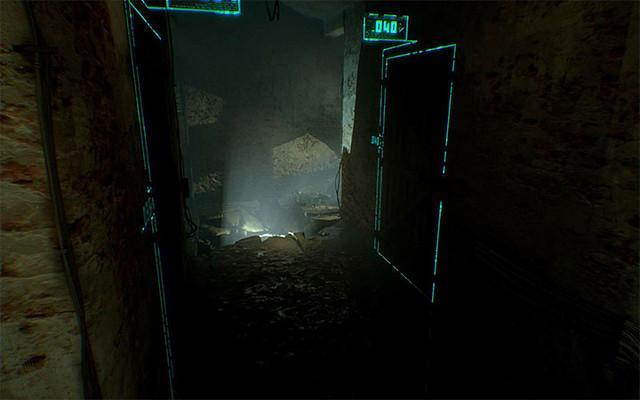
You are in a new part of the basement and the path through it is very linear, although you can find a new collectible painting along the way. Ultimately, you must reach the hole in the floor next to cell 040. Go through it and start exploring the subway. Consecutive tunnels will lead the protagonist to the assassin's hideout, and you will receive updated tasks.
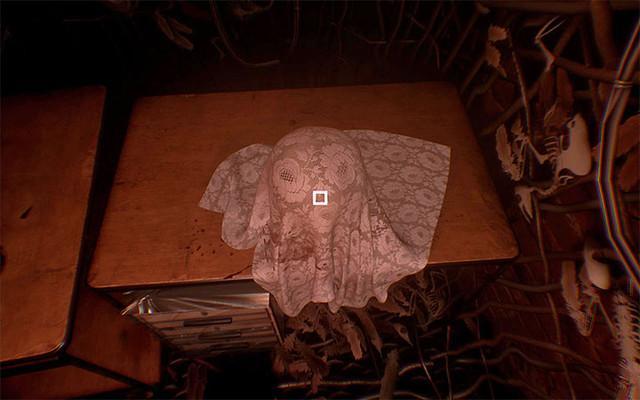
The hideout has a computer (you can view emails and photos on it), a medical inhaler, two masks, animal hair, hair and a tape recorder (the game will allow you to listen to a new recording). However, the most important find is shown in the picture above: the head of Adam hidden under a leaf. Finding this out completely unexpectedly leads to a conversation with the person who claims to be Adam; you will also receive two new tasks.
One of the unlocked targets is optional, and involves hacking into Adam's mind by scanning a brain implant in his head. You can take this step against the warnings of the protagonist's son, or you can listen to his advice and skip this optional task.
If you dare to bump into the mind of Adam, there are some unusual scenes to play out. Start by interacting with the scanner and then head towards Chiron's Tower. Once you arrive at the site, try logging into the database and hacking into the system, which you cannot do.
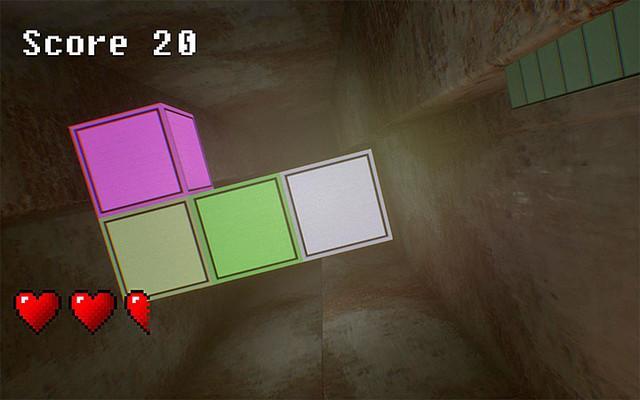
After you are in the apartment, turn on the TV. The first of the unusual games will begin here, it resembles Tetris. Try to avoid blocks that fall from the ceiling by moving sideways or forward / backward.
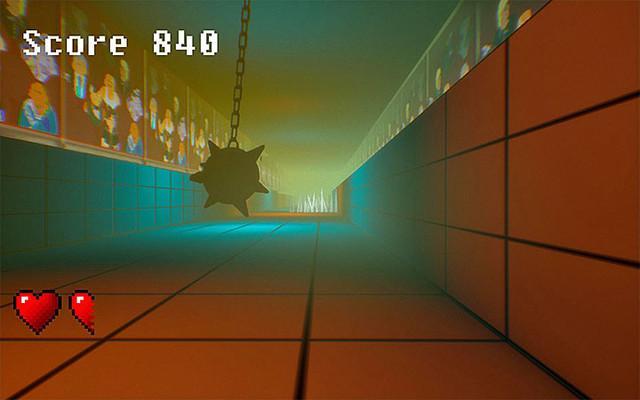
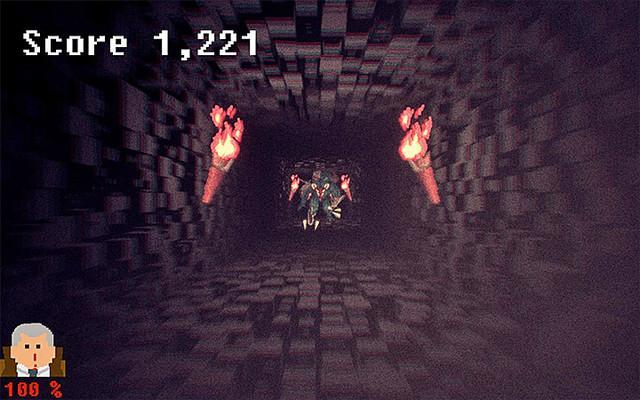
In the second game, you will go through a tunnel and you will need to dodge to the sides to avoid colliding with various obstacles (spikes, lasers, etc.) that appear in the distance. As you play the game, you will move faster and faster.
In the last and third of the games, you have to travel through mazes, jumping and turning 90 degrees. The difficulty level will gradually increase. At first you need to avoid the falling thorns, but in the later parts of this mini-game, monsters will start to appear that you must skillfully dodge.
Regardless of how you behaved in all games, you will return to the assassin's hideout and can take on a new quest in the main storyline.
Find the Sanctuary and contact Adam
You can start your search for the Sanctuary right after you've found Adam's head and talked to a mysterious figure who claims to be Adam, or simply after you've entered the mind of the protagonist's son and played out all the memories.
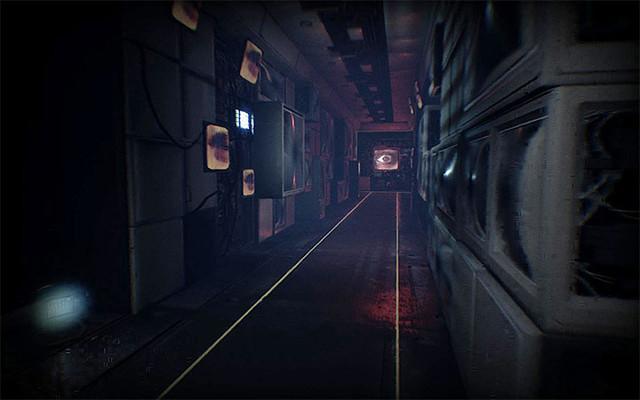
Leave the assassin's hideout and head towards the newly opened passage that leads to the sewers shown in the picture. Shortly thereafter, you will need to use a lever to open the first large gate.
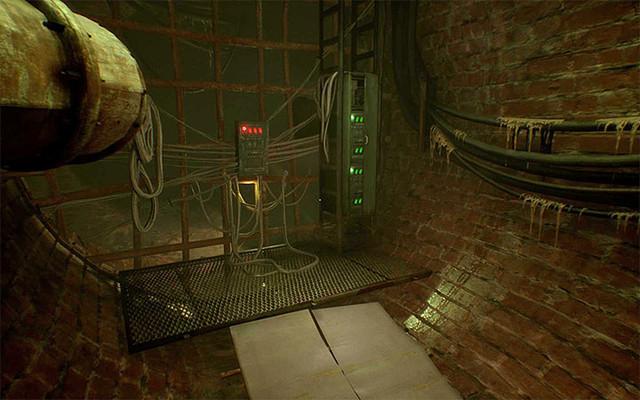
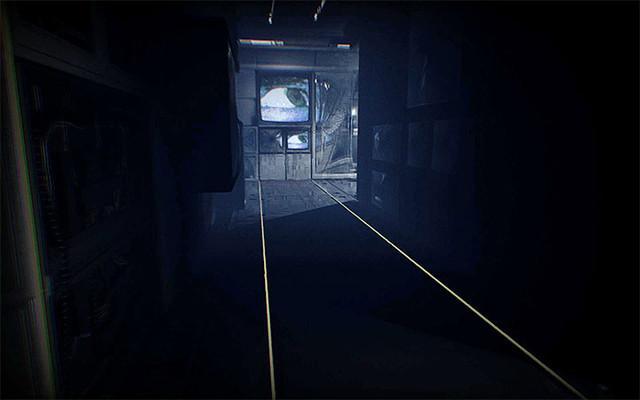
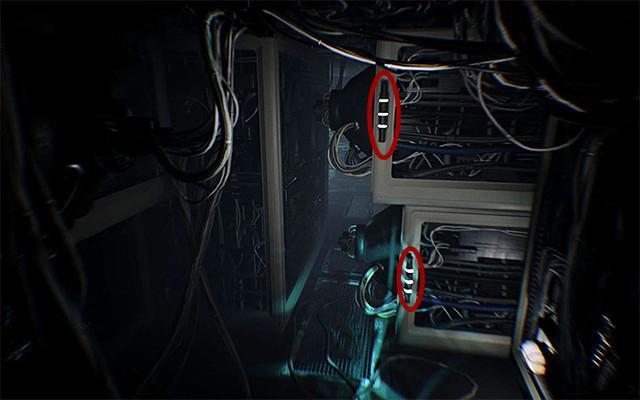
In the further part of the sewer, you need to find a box with three small switches shown in the image. Interacting with each of them will open up a new path (find a small gate with a green lamp above it). While exploring the sewers, take a look at the new collectible painting. You will immediately reach the canal exit by moving the second lever and opening another large gate.
Go up the stairs. She will lead you to a hatch, and when you open it, you will find yourself in front of the entrance to the huge building of the Sanctuary. Before you go inside, look around to find another picture.
Upon entering the Sanctuary, you will receive a new quest. Open the middle door and head towards the opposite end of the long corridor. As soon as you get close to one of the monitors, introduce yourself as Daniel Lazarski.
After authenticating, turn around and move closer to the right screen, which is shown in the image above. Touch it and insert the newly opened capsule. This will take you to the digital world, where you will have a long conversation with "virtual" Adam, which will appear on a monitor attached to the largest tree. The game will allow you to use all the dialogue options.
Visit an old hotel
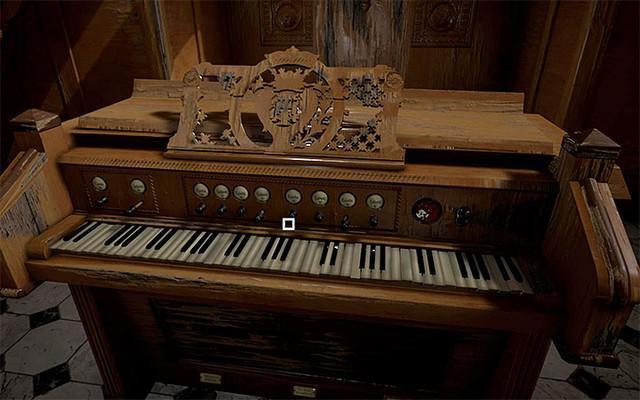
When you return to the capsule corridor, head back to the Sanctuary exit, but this time to the door on the right that leads to a small staircase. Climb the stairs and when you reach a new location interact with the piano in the above picture. This action will lead to the appearance of the elevator. Enter it to travel to the Chiron Hotel.
Note: You will not be able to use any alternative vision modes when playing back the final scenes, which will be described below. Luckily, you don't have to look for any evidence or traces, so you can play the game to the end without any problems.
Head down the hallway to find a new collectible picture. Use the green door and move on. In one of the adjacent corridors, you will come across a corpse that you can explore or ignore. You can also press the button on the red door and listen to the conversation.
Resume your journey and explore other corridors until you reach a room. There is a new collectible painting here. After that, use the side passage and continue driving, after which use the first ventilation shaft.
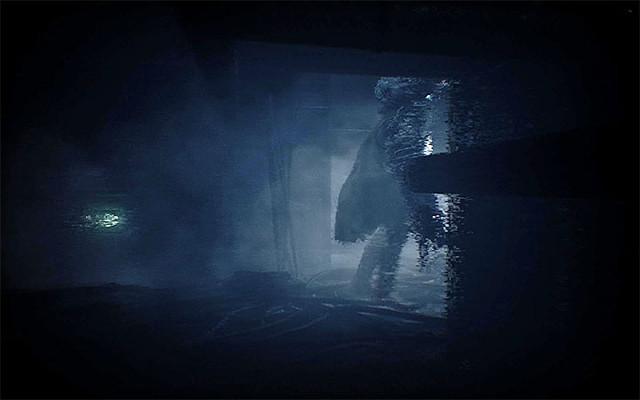
Problems will begin when you get to the exit from the ventilation, as shown in the picture above, since there will be a mutant already familiar to you. In this place, as well as in the next two, you must sneak so as not to attract the attention of this opponent.
Note: Remember not to try to get up, because you mutant can easily hear you. Always squat. Luckily, it won't be too difficult as the monster is slow and will give you enough time to complete all the actions required to effectively dodge it.
It would be ideal to study the mutant's route thoroughly. He patrols the corridors that form a rectangle and always goes in the same direction. This means that you can keep a close eye on him. Do not get too close to the mutant, because at least in one place he may suddenly look back.
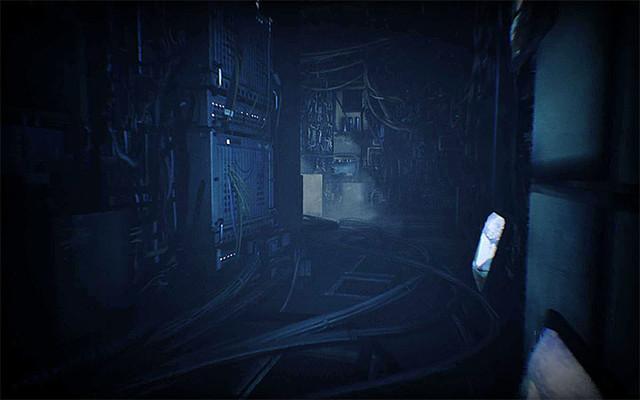
Interestingly, on your way, you will come across hatches that lead to other ventilation shafts, but you do not need to use them, since it is enough to simply follow the mutant while keeping a safe distance. Continue this process until you reach the corridor shown in the image, which will lead to the next location.
Travel through the successive corridors and ventilation shafts to reach the second area. Here, the enemy also travels through corridors that connect to form a large rectangle. Wait until the monster goes to the right and, as before, slowly begin to sneak behind it. You can follow the enemy directly or bypass them using parallel corridors. The exit from this area is shown in Figure 1.
Do not forget to squat while exploring the corridors. Thanks to this, you will not be found by a mutant in the third, largest location, where you will now enter. Use the monster's low movement speed again and sneak from a safe distance from it or through alternate corridors. The exit from this area is shown in Figure 2.
In a few minutes you will reach a much longer corridor that leads to the computer room. Interact with the computer and immediately after watching the scene behind the glass wall, turn around and run away. You shouldn't be caught during this scene, but luckily the monster is still slow. In addition, in some other locations, the game will allow you to look around, but you will not be able to return to the areas that you passed earlier.
Take advantage of successive corridors and ventilation shafts. You can also find a new collectible painting along the way. At the location shown in the picture above, disconnect the cables to open another passage. In one of the following areas, you will need to find descriptors that you can interact with.
Narrower passages will lead you to a new, slightly larger location. Explore the area on the right and look at the two obstacles shown above. As before, you need to use white handles that you can interact with and use them to move large objects to the right.
Continue your journey. The corridors will lead you to the elevator door. Press the button and don't worry about being caught by the monster, as the scripted scene starts here. After a while, you will reach the end of the game.
Last confrontation with Adam and choice of ending
The finale of the game will begin with a series of cutscenes. You will be able to control the main character until you find yourself in a virtual environment. Go straight ahead and in a moment you will reach Adam's big head where you can talk to this character.
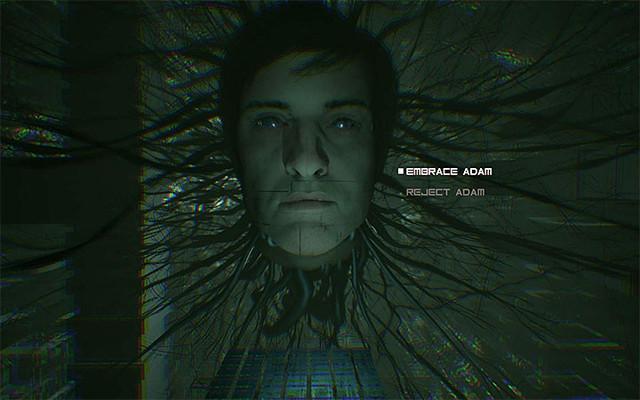
Initially, the conversation is linear, and, as before, you can use all the available dialogue options. You should also take a wire. Only at the very end of this meeting you will be faced with a choice, and this moment is shown in the picture above. You have two courses of action:
Note: If you want to watch all the endings of the game, please make a backup of your save files before the end of the game. This is very important because as soon as you see one of the endings, you will be returned to the main menu and the only option available is to start a new game. In the PC version, the saves are located at:
C: \ Users \ username \ AppData \ Local \ TheObserver
Ending XNUMX - Hug Adam
You can see this ending by choosing the top dialogue option during your conversation with Adam. You will allow him to take control of Daniel's body and thus save him from the deadly threat of the virus. Once you have made a decision, you will be able to partially interact with the game during the cutscene, where you can, for example, try to warn the caretaker (this action will fail).
Ending 2 - Push Adam away
To see this ending, select the lower dialogue option. You will specifically refuse his request to take control of Daniel's body in order to save him from impending death. Once you have made your decision, you will be able to partially interact with the game during the cutscene where you can try to stop Adam.
Previous chapter of Observer walkthrough:
Observer side quests:

