Smoldering Lake is an optional location. You can visit it if you destroyed the wooden bridge in the Catacombs of Kartus. After that, you can use the bridge as a ladder to go down, where you will find a bonfire behind the room with the demon - behind it you can enter this location.
Home
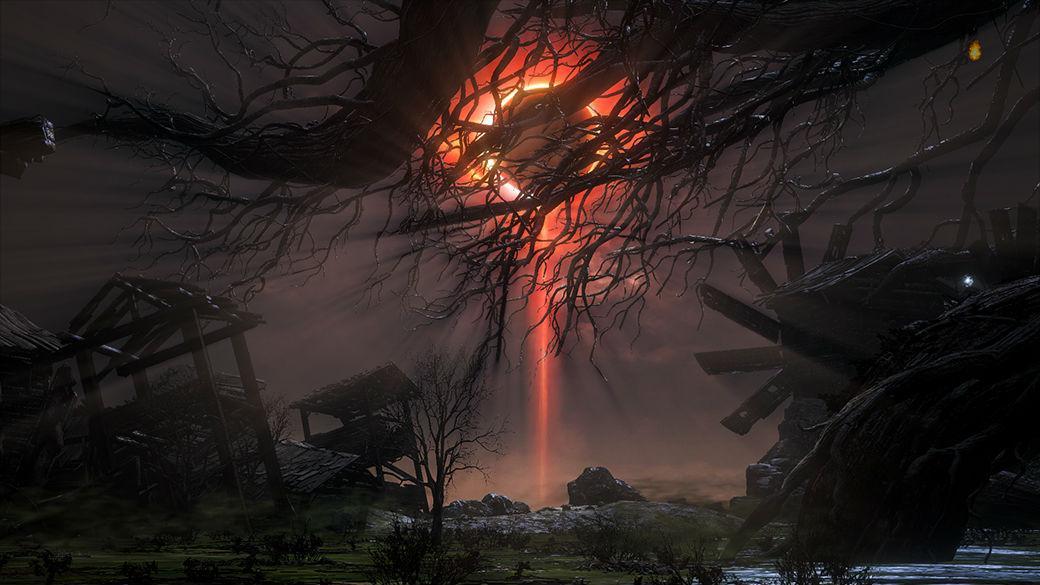
When moving across the lake, you will be constantly attacked by a ballista located high above the right side of the entrance. The arrows will fly one after the other, but there is always a short pause after the third shot. This pause will allow you to quickly move between trees so as to avoid damage. From the square in front of the entrance, you can collect 4 titanite shards from the bodies scattered around.
Then go to the ballista, to the place shown in the screenshot. In the wall, you will find a passage that will lead you to an enclosed area where you will meet Horace. Kill two lizards on your way to collect Shimmering Titanite and Titanite Chunk.
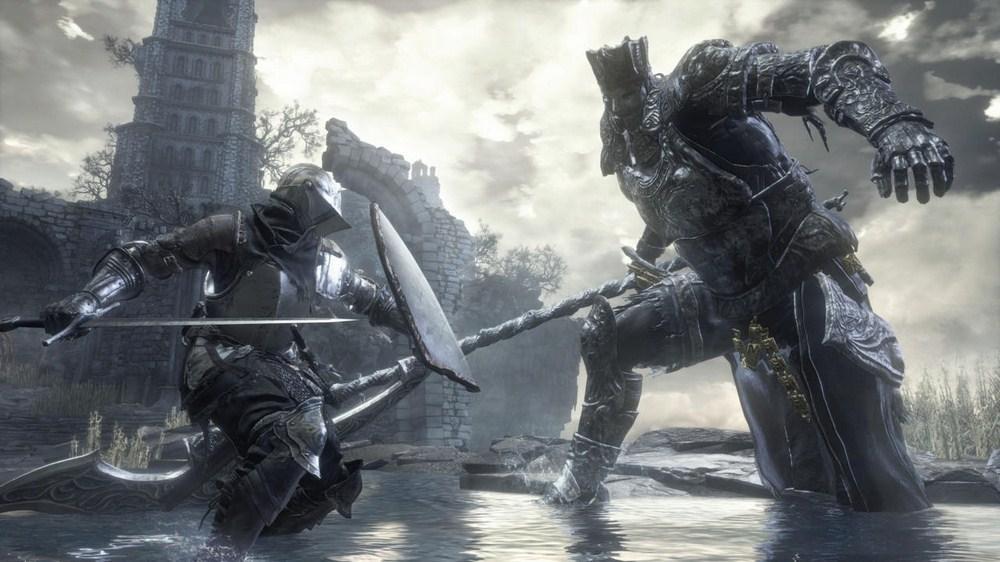
Horace is mad and he will attack you if you get close. If you want to continue Anri's quest, you must kill Horace or escape without speaking. Killing Horace is a safer and more profitable option. He attacks with a spear that has a long range. The most dangerous attacks are performed by him with two hands (meat grinder, attack from above). When he is holding his shield, it is quite easy to break through his defenses. After defeating him, you can get Llewellyn's Shield, Yellow Beetle Pills, and two Large Titanite Shards.
After you go back, you must take a chance and go to the right side of the map. You will come across several crabs along the way. The ballista continues to attack you, so stop, as the fight with the crabs will be suicidal. However, it is worth taking the risk and bypassing all the enemies, because under the wall at the end you will find a Chaos Jewel.
In the middle of the lake, you can use the ballista twice for your own use. The first place that you can open with a ballista shot (stand and wait for the shot) is the path that leads to the ruins. It sits between two torches (look for the rocky path). When the ballista destroys it, you can go down below. When you exit the corridor, you can find a bonfire.
The second place is a wall among rocks (screenshot). When the ballista projectile hits the second wall, it will be destroyed and you will gain access to the body with the Speckled Stoneplate ring.
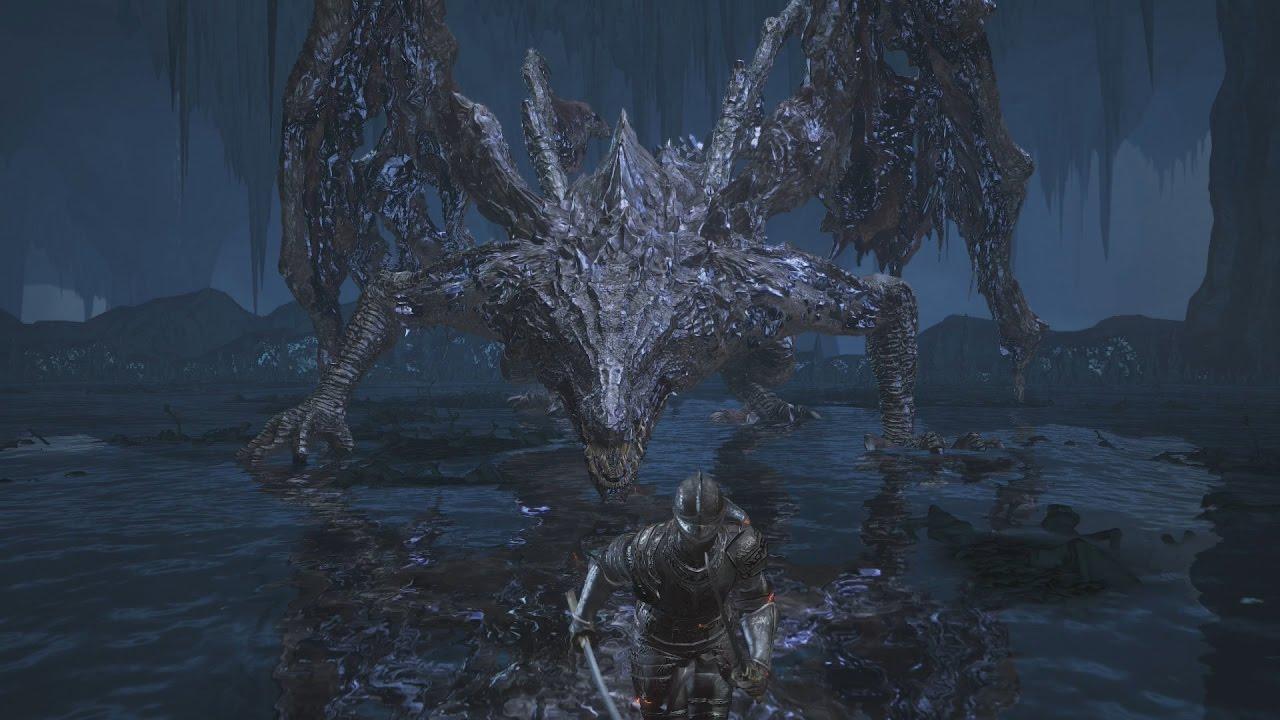
Finally, go to the gate on the left side of the entrance to the location. This stretch will lead to an additional boss. As you approach the passage, a giant worm will emerge from the water. We do not recommend fighting with him, because he has a powerful blow, and lightning is located around him. In addition to this, you have to remember about ballista shots ...
... which can be used for your own purposes. If you stand in the right place, the ballista projectiles will attack the monster and do all the work for you. In order to do this, run around the worm and stand next to one of the rocks on the left side, just like in the screenshot. You must now be patient. After a few hits, the creature will die and you will be rewarded with a Glowing stake and an undead bone shard. If you return to where the enemy was killed, you will also find the Shield and Large Titanite Shard.
Finally, follow the path on the right side of the door, which you should ignore for now. Before entering the corridor, you will find a large shard of titanite and then go down to the fire.
Demon Ruins
The corridor behind the fire will lead you down. On the left side, you will encounter the first of many demons in this location. You will need good fire protection. The enemy's most dangerous attack is breathing fire - when he does this, you must dodge and roll behind him. Pay attention to fireballs - you can stop the enemy before creating them if you attack him at the right time. Also, the balls shoot projectiles, so don't let your opponent create too many of them. It is best to kill the demon as quickly as possible - the balls will disappear after his death. You will find coal in the corner.
<Turn right before going down and walk slowly along the wall. There are four enemies behind it - it is important to lure them one by one. Don't stay too long in the reach of the purple toxic cloud. Kill all the enemies and then enter the room on the left side.
Just like before, you have to lure enemies one by one. Watch out for them, as this type of enemy will constantly try to grab you (a lot of damage). Enemies will jump up and immediately attack (if you are caught several times in a row, you will be killed very quickly). In the corner, you will find Amber. However, before taking it, first kill the fat demon in the corner. His fire attacks can be avoided by waiting behind a wall and then quickly attacking him. Don't try to jump above the hole - you will be trapped. Instead, step back a little and down to where the four enemies were.
You will enter a room in which you are attacked by two magicians. Fire protection will be even more useful than before, as there are several fireballs hanging in the hallway. It's a good idea to hide behind a pillar and wait for enemies to get close enough to you to strike. This will allow you to deal at least some damage to them before you are forced to run behind another column, where you must end the fight.
Note: You can go down when the enemies turn away. In this case, you should attack one of them, preferably from a distance, and lure him away from your companion.
After the battle is over, you must go to the distant corner of the room, where you will find an undead bone shard under the hanging gelatinous foe.
Then, leaving the stairs leading up behind you, head to the right of the main room. Eventually you can turn right again or go into the hallway ahead (with the rat in the middle). Choose the last option and you will find yourself in front of an illusory wall at the intersection shown in the screenshot.
You will find a black knight behind the wall. Watch out for his very powerful blows and lethal series of attacks. Run around the pillar and prepare a strong blow as soon as you find yourself a little further away - aim correctly and hit the enemy. After you manage to defeat the knight, collect the Black Knight's sword and continue your journey down the corridor.
In the next room, you will face several enemies. Watch out for the stone demons that are spitting fire - quickly dodge and attack them from behind while they carry out the attack. In the next room, you will find two other opponents, including the shaman on the left side. Examine the corridor behind the spearman and you'll find Amber in the niche. Then go up the stairs.
Here you will find a bonfire (Old Demon King). Check the area behind the wall, in the corner that is different from the others (it's on the left side of the stairs). Hit the illusionary wall and head through the hallway filled with hanging gel-like creatures (a quick run should be enough). You will reach the Estus Shard.
Now return to the fire and enter the corridor with the demon mage you should already be familiar with. Turn left after you kill him - you will find a second illusory wall. Kill the lizard at the end to receive the Chaos Gem. If you used a ballista to destroy the stone floor in the lake at the beginning, you should notice a hole in the ceiling - a shortcut will lead to this location.
To complete your exploration of this area, go to the large room in front of the bonfire. There, in front of the statue, you will find an enemy kneeling with his back to you. Carefully enter the room and quickly retreat, as two other opponents are waiting for you on the sides. Run to the fire, quickly attack one enemy and lure the other away from the shaman. Don't get caught in a narrow passage - if two opponents attack you at the same time, you can easily die. After clearing the area of enemies, you can collect the Izalit pyromancy tome and return to the large room below, where you will encounter two demons - magicians and fireballs hanging around.
The path to ballista
Enter the corridor with one rat and two magicians at the exit from the room. Directly in front of the rat, you can turn right where you will find some more rats in the small room. Hit the wall in front of the entrance to reveal the illusionary wall. A little behind, near the spider's body, you can find the Quelana pyromancy volumes.
Going down will lead to lava. However, please note that there are items in the middle and at the end. If you want to get them, you must return here with a full supply of Estus, Resilient Armor, and a supply of Red Bug Pellets, which temporarily reduces fire damage taken. Items are very difficult to get - you have to walk through the lava and drink Estus when your health drops to half. The character will slow down, but it is necessary to move if you want to reach the end. You should also watch out for the gelatinous monsters - make sure you always avoid them (no dodging, otherwise you won't have enough time to heal). If these creatures are the biggest obstacle for you (for example, they explode next to you), try to wait on the stairs and lure them towards you. By doing so, you can kill them before entering the lava. After a successful attempt, you will receive the Toxic Mist and the White Hair talisman. You will die, but you will keep the items you received. If you are walking down the stairs, you must find a soul before entering the lava.
Note: The corridor with one rat has a hole at the end. It will lead to the same place. Jumping inside, you will find yourself immediately halfway through, so if you have problems reaching the wall, you can try from here - just watch out for the last creature that lurks just in front of the subject.
<Return to the rat room and head down below. At the end of the next corridor, you will find a large rat and several smaller ones behind it. Eliminate them quickly and then find the illusionary wall on the left. Behind it you will find a chest with three large titanite shards inside. The wall behind the chest is an illusory one that will lead you to the Izalith Staff.
Watch out for poisonous frogs in the sewers - run quickly when they threaten you. At the end of the path you will find a ladder that you must turn left before using.
The path to the lava-filled room is guarded by an enemy you already know - Tsorig. Just like before, he has a giant sword with which he can deal a lot of damage with ease. Watch out for his special attack with a long move, after which the enemy is about to crush you - this is his most powerful weapon. Always try to attack after his attack, when you have a chance to be behind him.
You can also try using the lava by standing next to it, very close to the edge. When he builds up his strength, dodge to the side, which will allow you to cope with two quick attacks and, thus, throw him into the lava. This can speed up the battle if you can repeat the trick enough times. For defeating him, you will receive the My gratitude gesture! (if you didn't get it earlier), 5 souls, an ultra-large sword Fume, and a large black iron shield. In addition to this, you can try to collect items from lava - Ember and the sacred flame.
Finally, go upstairs. Behind the bridge you will find another tough opponent (but not as tough as Tsorig). You can trick your opponent and push him down to the lava two or three times. On the other side, you will find the Soul of the Fallen Knight.
Go up the stairs. Once at the top, turn right where on the slope below you can pick up a rider's bow. A little further, you can go out into an open space. Watch out for the ballista and several skeletons. Take the Homeward bone carefully.
Finally, you will reach the top. The ballista is guarded by the last two enemies, which, luckily, can be lured out and defeated one by one. Watch out for aerial attacks and knives thrown at you. After you manage to kill the last opponents, go to the ballista and pull the lever. This will disable your weapons and navigate safely around the bottom of the lake - you can collect items you haven't picked up yet. If you want to unlock the shortcut leading to the ruins and destroy the wall (if you haven't already), you can activate the ballista later.
Finally, return to the lake and go to the boss arena. You can summon two NPCs to help you - the sign of one of them can be found in front of the entrance, and the sign of Tsorig can be found next to the Demon Ruins bonfire, in the corner of the room.


