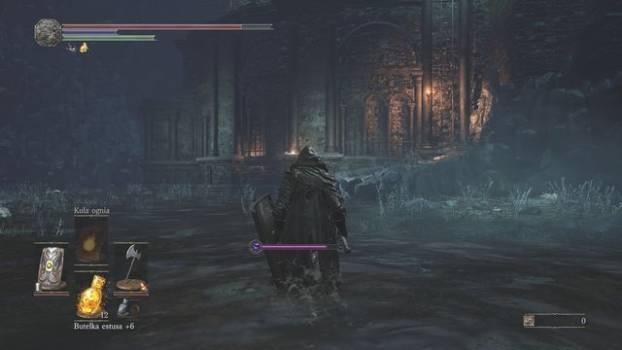
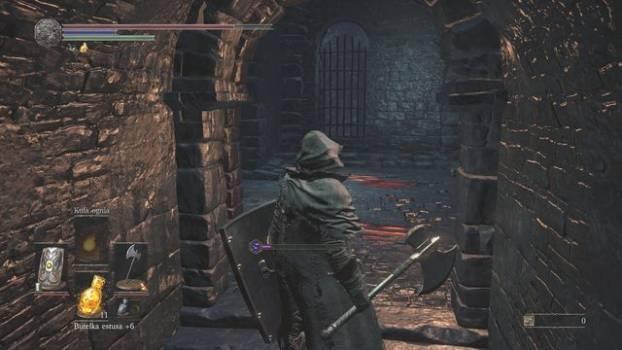
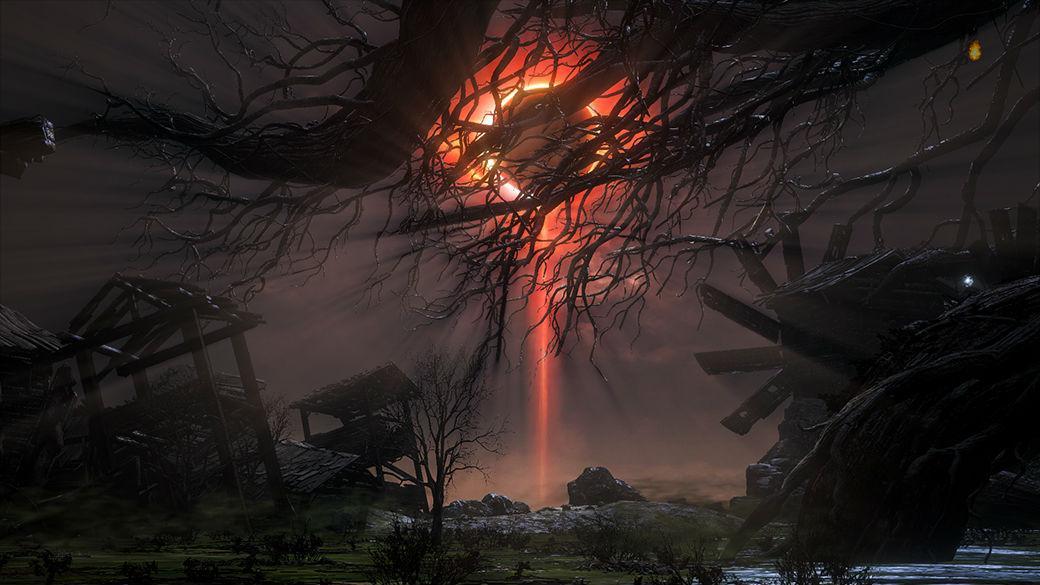
The exit leading to the Defiled Capital is at the bottom of the dungeon, in a room full of guards. After you leave him, head down the stairs, collecting the Great Soul of a Weary Warrior along the way.
Home
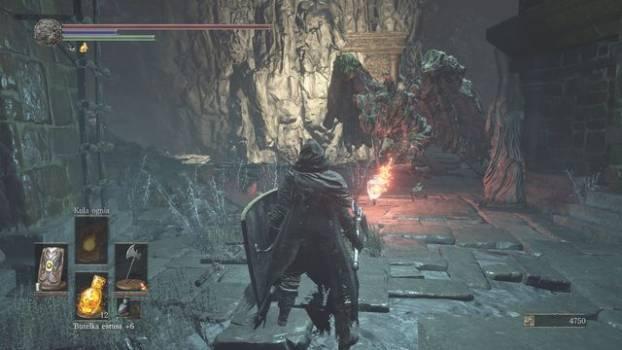
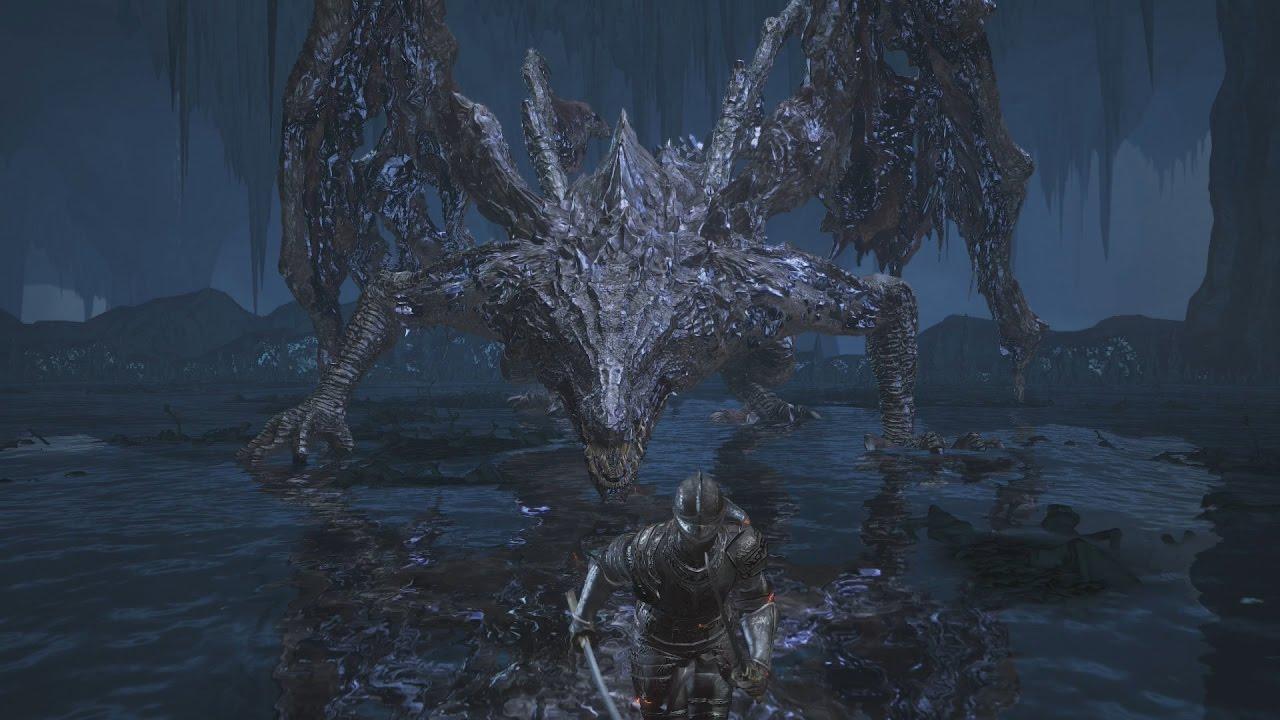
Go a little further across the bridge. During the crossing, a stone gargoyle will appear from the rocks on the right. Lure her to a more stable and open area where you can dodge attacks. Watch out when the gargoyle rises into the air, as it will fall down trying to pierce you with its weapon. During the fight, try to stay close to the enemy, and roll under her wing when she is open (at the same time, watch her, because she will make two more hits).
After defeating the enemy, you can cross the bridge. Go down using one of the stairs and climb the other, which is next to the fire. You will find a body with Stretch Out and an Undead Bone Shard. Also here you will find a staircase that leads further. Before using it, you should complete the case in the Irithyll Dungeon.
Return to Irithyll Dungeon
Use the ladder to get to the bottom of the tower and turn left. You will encounter the second gargoyle - use the same method as before (wait for the creature to lower its defense). Once you've dealt with the beast, you can return to the tower using the stairs on the left side. Enter through the window and collect two rusty coins.
Take the ladder on the right side. Don't get fooled by the lizard, and instead of chasing it, turn left. In the next corridor, you will encounter another lizard (Shimmering Titanite) and take the right turn, which will take you to the first lizard you approach (the second Shimmering Titanite). Get to the end and turn left to find a body with a rusty gold coin. Exit the hallway and head towards the wooden platform on the other side.
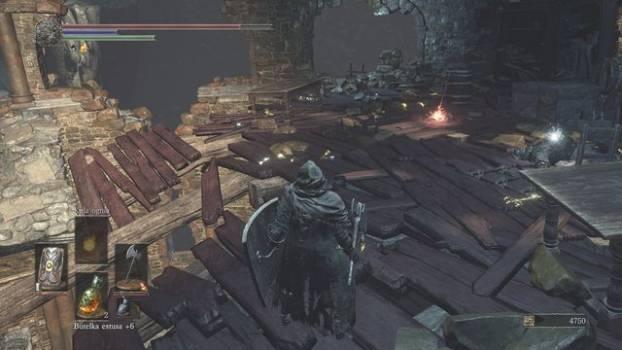
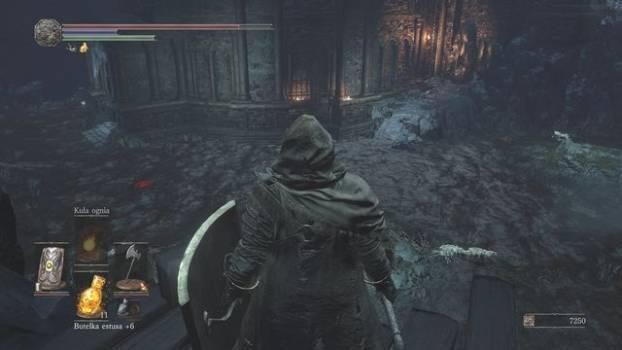
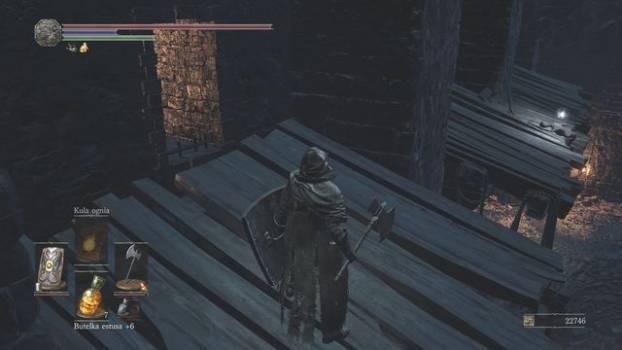
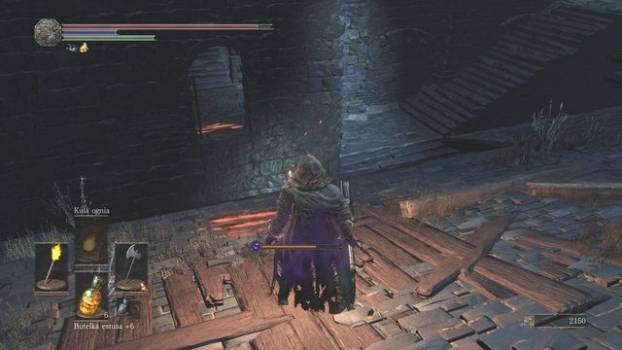
You will reach the location shown in the screenshot (get to the end of the bridge to get blooming thickets of purple moss). The path will take you deeper, where you will be exposed to toxic gases. Also, beware of spiders that will attack as soon as you get close enough. You can find a Purging Stone, and if you head towards the wooden bridge, you will find a Cursebite ring and a Toxic Gem.
Go to the left side of the area to find the Shriving stone in front of the main door. Once you open it, you will face an enemy that looks like a huge dog. Instead of a head, the creature has a huge fist, because of which you must be careful (you can be caught and hammered). In addition, the beast will roll over when you try to enter it from the back. Luckily, your opponent is quite slow, and thus you can avoid most of his attacks (go to the toxic area for more space). When you kill the animal, walk inside and face more than two of these creatures. You can approach them individually, or if you got Eleonora (dropped by one of the hounds), don't do it and immediately run to the back of the room where you will find three Purging Stones.
Return to the toxic area and go to the right side of the location. Use the ladder to get inside. There you will have another creature in the form of a dog waiting for you, so dodge his blows and watch out for a huge hand. Kill the beast and take the Warlock and Junk set from the window. The chest is a werewolf, so be careful - kill it and you will receive the Catalyst Logan.
Climb to the roof and turn right where you will find a staircase leading to the top. On the way, pay attention to the large roof to your right. You will face an enemy that will attack even if you go further. Use the terrain to your advantage and approach the creature from behind. During the fight, watch out for his movement and a wide range of weapons. When you kill the creature, you will receive Logan's Scroll, and if you check the nearby rooftop, 18 Poison Arrows. Finally, jump into the small tower and collect the Wrath of the Gods.
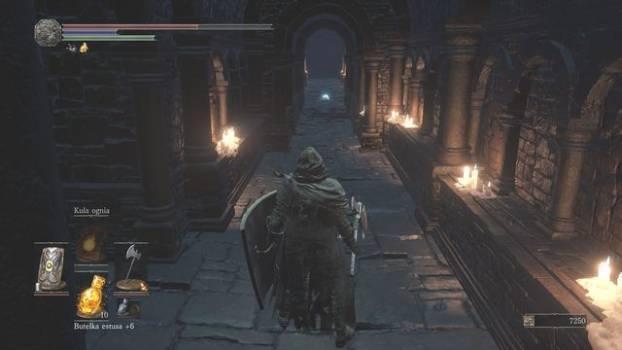
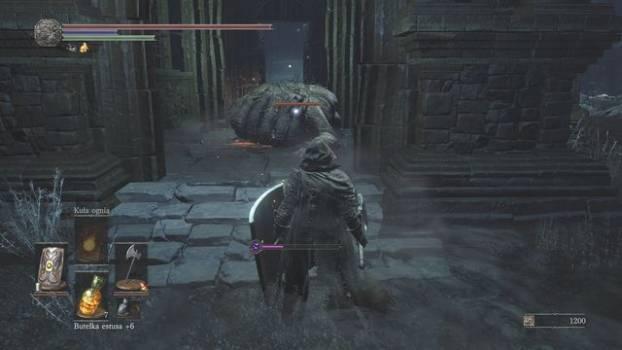
Use the ladder to get to the top and you will reach the location shown in the screenshot. The window has two invisible enemies (guards who will drain life energy). Do not let them ambush you and immediately execute a powerful blow, attacking the space in front of you. Get to the end where you will find the jailbreak key - it will unlock the cells that were out of your reach (three of them). Alternatively, Siegward's cage can be opened with an old cage key found in Irithyll's Dungeon (Channels).
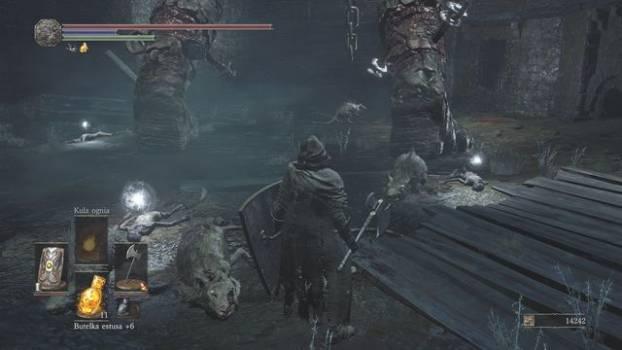
In order to unlock the shortcut to the Irithyll Dungeon bonfire, jump down, avoiding the rats and the giant. Quickly get to the hallway in front of you and use the elevator to get to the top and unlock the main shortcut.
When you have obtained the required keys and opened the passage, return to the giant. Kill all nearby rats and attack the giant, paying attention to the rats that will continue to come out of their holes (if you have problems fighting against the rats and the giant at the same time, you need to be patient and just kill all the rodents that come). During the fight, stay between his legs and attack his ankles just like you did before in the Temple of the Deep. Slay the giant and collect Fel Coal and two Large Titanite Shards.
Remember: if you followed Siegward's quest, you can look through one of the windows and find the imprisoned onion knight. If you have an old key from Irithyll Dungeon, you can free it.
In order to collect the remaining elements in the Defiled Capital, go a little further, on the left side, where the giant will stand. A werewolf will be waiting for you inside. Kill the creature and collect the Glowing Arrow.
The stairs will lead you to the scaffolding - accelerate to make the jump and collect the Glowing Bolts. If you haven't done so before (you haven't attacked the giant to open your way), jump down to kill the lizard and collect the soul.
Now all you have to do is free Siegward (if you have continued his quest) and open the prison cells.
Liberation of Siegward
To open Siegward's cell, you need a key. You can find him in the sewers in Irithyll Dungeon, on a path full of rats. Eventually, you will come across two chests - one of them is a werewolf and the other contains an old camera key.
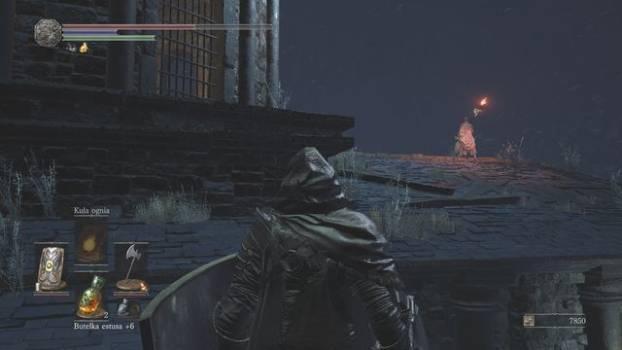
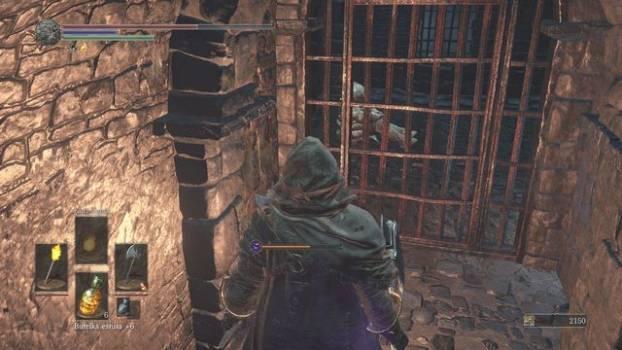
Go to a spot at the bottom full of spiders where the entire area is covered in toxic substance. Use the ladder to get to the roof and reach the wider roof on the right. Find the place that is shown in the screenshot (jump through one of the windows).
Talk to Siegward and he will offer a Titanite Piece. There is a Covetous Gold Serpent ring in the corner.
Opening the chambers and freeing Karla
Before moving on to the Defiled Capital, use the received key and open other cells. The first one is opposite the fire, this is the last chamber on the right side. There is a gold rusty coin inside.
The second cell is located in the same part of the prison, in its lower part. It can be opened from both sides and you will also find several cages and a protector that can drain your life energy. This cell contains the Ashes of the Prisoner Chief.
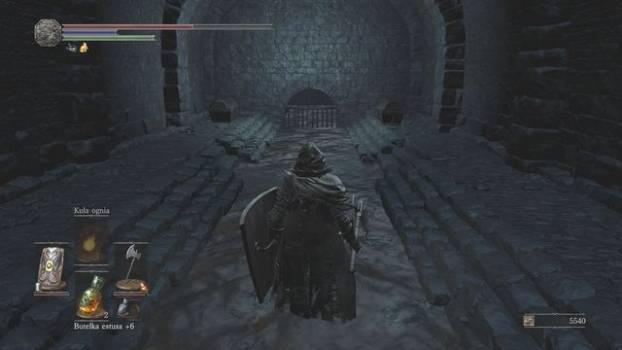
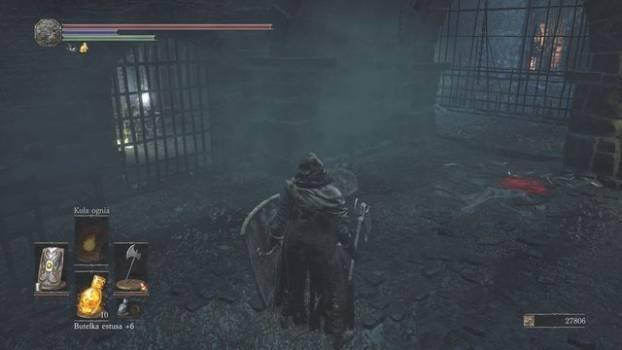
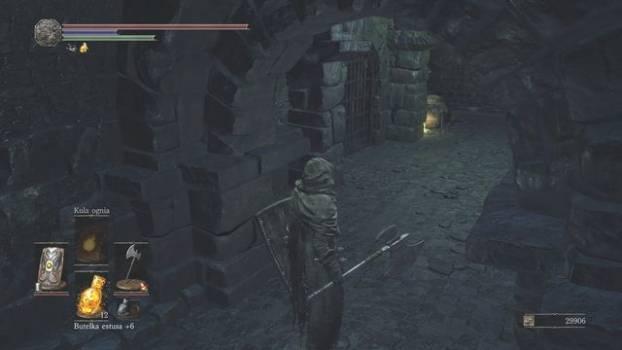
The final chamber can be found in the lowest room full of enemies capable of killing you. If you don't want to fight them all at once, go to this place across the bridge in the Fel Capital. Turn towards the corridor on the left side, avoiding the main group of enemies. Kill one of the guards along the way and open the camera at the end. Inside is the witch Karla - forgive her and she will go to the Purification Chapel. When she does this, she can teach you dark magic.
Remember: thus, you explored part of the Corrupted Capital, as well as places in the Irithyll Dungeon that were previously inaccessible. The path will lead you to a ladder that can be used to access the fire in the tower (Corrupted Capital).

